
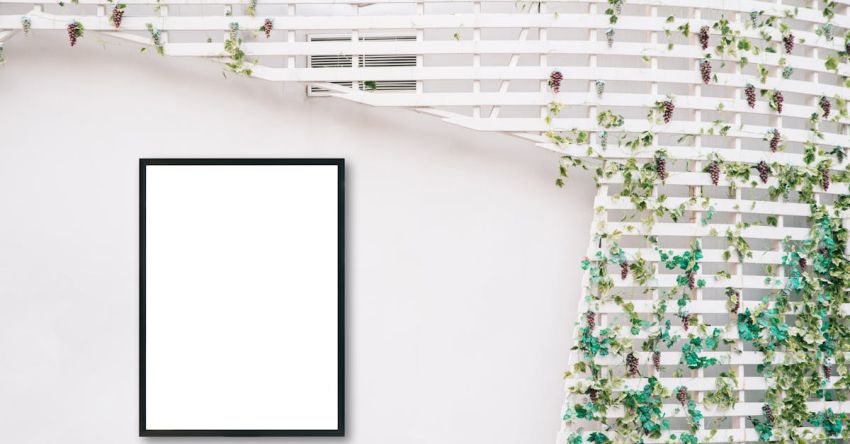
How to Create a Diy Photo Frame for Your Favorite Moments
Capturing memories through photographs is a timeless way to preserve our favorite moments. Displaying these cherished snapshots in a photo frame allows us to relive those memories daily. While there are countless photo frames available for purchase, creating your own DIY photo frame adds a personal touch and can be a fun and rewarding project. In this article, we will guide you through the process of creating a unique and customized DIY photo frame for your favorite moments.
Choosing the Right Materials
To begin your DIY photo frame project, you will need to gather the necessary materials. The great thing about making your own photo frame is that you can customize it to suit your style and the specific photo you plan to display. Here are some basic materials you will need to get started:
– Wooden frame: You can purchase a plain wooden frame from a craft store or repurpose an old frame for a more eco-friendly option.
– Acrylic paint or wood stain: Choose colors that complement the photo you want to display.
– Paintbrushes or sponge brushes: These will be used to apply the paint or stain to the frame.
– Decorative elements: Consider adding embellishments such as beads, buttons, or charms to personalize your frame.
– Glue or adhesive: To attach the decorative elements securely to the frame.
Preparing the Frame
Once you have gathered all your materials, it’s time to prepare the frame for customization. Start by sanding the wooden frame lightly to smooth out any rough edges or imperfections. This step will ensure that the paint or stain adheres properly to the surface of the frame. After sanding, wipe away any dust with a clean cloth.
Applying the Paint or Stain
Now comes the fun part – adding color to your frame! Whether you choose to paint or stain the frame is entirely up to you and the look you want to achieve. If you prefer a more rustic or natural look, opt for a wood stain that enhances the grain of the wood. For a pop of color, acrylic paint is a versatile option that allows for endless color choices.
Using a paintbrush or sponge brush, apply the paint or stain evenly to the frame, making sure to cover all sides and edges. You may need to apply multiple coats for a more opaque finish, so be sure to let each coat dry completely before adding the next.
Adding Personal Touches
To make your DIY photo frame truly unique, consider adding some personal touches. This is where you can let your creativity shine! Experiment with different embellishments such as beads, buttons, or charms to create a one-of-a-kind design. Arrange these elements on the frame and use glue or adhesive to secure them in place.
Allowing the Frame to Dry
Once you have finished customizing your DIY photo frame, set it aside to dry completely. This step is crucial to ensure that the paint or stain sets properly and that any adhesive used to attach embellishments dries securely.
Showcasing Your Favorite Moments
Finally, it’s time to display your favorite photo in your newly created DIY photo frame. Choose a special photograph that holds sentimental value or captures a cherished memory. Insert the photo into the frame, and voila – you now have a personalized photo frame that showcases your favorite moments in style.
Embracing Creativity in Everyday Life
Creating a DIY photo frame for your favorite moments is a simple yet meaningful way to infuse creativity into your everyday life. Whether you choose to follow a specific theme or let your imagination run wild, the process of crafting a personalized photo frame is a rewarding experience that allows you to preserve and celebrate the moments that matter most. So, gather your materials, unleash your creativity, and start transforming ordinary frames into extraordinary keepsakes that will bring joy for years to come.